The way to Solve Negative Drainage With Landscaping

Negative drainage may lead to landscape and home damage and should be corrected as quickly as possible. This issue occurs when you have water flowing toward your home instead of away from it, causing cause harm to the base. If the flow isn’t extremely heavy, then an adjustment to the landscaping is an inexpensive choice to alter the flow of water back in the right direction.

Remove landscaping around the house where you’ve got the negative drainage issue. Dig out plants using a scoop and set them aside for later usage.

Scoop out grass around the natural area and set it aside. Remove the grass 6 feet from the natural area or to a whole distance from the home of 10 feet.

Fill the natural area with additional soil to raise the caliber. Add 8 inches of loose soil to lift the plant bed to a height that will force water back in the other direction, pack it down with a lawn roller. The rolling will pack the brand new ground down to a height of around 6 inches above where it was before. Walk the roller slowly back and forth through the surface to tamp the ground.

Add more soil from the natural area, sloping it away from the home. Drop the soil a total of 6 inches to your 10 feet distance from the home to push away the water from the home. Use a level to check the slope, and roll the ground with a roller to firmly tamp down the dirt.

Put the grass back in place in the 6-foot area where you eliminated it. Replant the landscaping shrubs in the natural area and cover with mulch.

See related

Dry Waterfalls for Yards

A dry waterfall resembles the tumbled rocks found in character. Generally speaking Japanese gardening, dry waterfalls are known as dry cascades, or “kare-taki,” Bowdoin College notes. In home landscaping, a dry waterfall works well in a rock garden or to create a focal point in the yard. This low-maintenance feature provides the landscape texture and saves water.

Dry Waterfall Basics

The space available for your dry waterfall helps determines its dimensions and the amount of materials you need to construct it. The height, width and length measurements of the waterfall’s desirable size function for calculating the cubic feet of rock you are going to need. The best locations include places you will enjoy watching from within your home, such as across out of a bedroom or living room window, or even from a patio area outside. Alternatively, a dry waterfall acts as a decorative feature that doesn’t require upkeep for a problem area of the yard.

Single Cascade

A single cascade suits a slope or hillside around the property, allowing you to utilize the land’s shape to arrange the rocks in a natural cascade. For a horizontal yard, this easy dry waterfall might be just two feet tall in the high end. A place with tree roots bared by erosion produces a dramatic landscape to get a dry waterfall. Using gravel and soil to develop the cascade’s high end reduces the labor of building everything from rocks.

Multiple-Stage Waterfall

A multiple-stage cascade looks like a natural waterfall that falls to various levels, creating a set of descents instead of the stream of the single cascade. This effect requires stacking rocks to create various levels. Embedding boulders and huge rocks in the earth stabilizes them, lowering the risk of them rolling or shifting and causing property damage or harm. A hole one-third the height of every stone will hold it in position. Each rock ought to be assessed to ensure that it’s secure before you include more rocks.

Dry Waterfall Safety and Tips

Working with a qualified landscaper will help prevent potential problems. Heavy-duty leather work gloves help protect your hands. A hand truck and a helper may be needed for transferring large rocks. A strong, wide plank can function as a ramp for rolling heavy rocks into place instead of lifting them. Children should be supervised when they play stone features. If there are dogs around the property, rocks small enough for them to eat must be avoided.

See related

Garden Perennials & Shrubs to Prune from the Fall

Pruning is both a normal part of landscape maintenance and also a means to fix problems on your own plants. In addition, it can help achieve a special effect, such as determining the form a plant assumes as it rises. Understanding which plants to prune in the fall is vital in ensuring a successful result.

Blooming Time

To ascertain the best time to prune a thriving tree or perennial, first consider if the plant produces flowers. Shrubs or woody perennials that bloom in the late summer or early autumn gain from pruning in winter or fall to enhance the general form of the plant, control its size or remove dead or broken branches. These kinds of plants comprise most ornamental grasses, angel trumpet plants (Brugmansia sp.) , butterfly bushes (Buddleia sp.) , and many other varieties. On the flip side, spring-blooming shrubs such as azaleas and rhododendrons (Rhododendron sp.) Create new blossom buds throughout the summer and should be pruned early in the summer, soon after their flowers are spent. Pruning these spring-bloomers from the autumn would remove their new flower buds, preventing flower production the following spring.

Late-Fall Shaping

For non-blooming shrubs where flowering time is not a variable, fall may be a good time to clean up the plants, removing unsightly branches or giving the plant an overall shaping. But fall-pruning is best done after the plant has entered dormancy and stopped growing; pruning too early in the autumn, when the plant is still growing, can encourage tender new growth that’s particularly vulnerable to damage from cold weather. Most non-blooming shrubs such as arborvitae (Thuja sp.) and cypress shrubs (Cupressus sp.) React to late-fall, dormant pruning using a burst of new growth the next spring.

Perennial Cleanup

Herbaceous perennials that bloom in spring or summer, such as daisies (Rudbeckia sp.) , peonies (Paeonia sp.) , phlox (Phlox sp.) , iris (Iris sp.) And daylilies (Hemerocallis), gain from a general pruning in autumn to remove stems and leaf before winter arrives. These plants generally perish during winter, leaving dry brown leaf and spent blossoms. Even though you could leave these shirts in place if your plants are healthy, cutting them back helps remove any diseased or insect-ridden components, promoting healthy new spring growth. It also removes potential winter nesting places for rodents and improves the plants’ appearance during dormancy.

Perennial Bulbs

Perennial plants that grow from bulbs also gain from a late-summer or fall pruning. These comprise spring-blooming bulbs such as tulips, hyacinths and daffodils as well as summer bloomers such as hardy lilies. For those plants, the best practice would be to leave the leaf in place after blooms have faded, since the plant consumes its leaf through the summer to create nutrients it stores to the next year. When the leaf wilts and turns yellow or brown, it may be safely removed by cutting it off cleanly with a sharp knife or pruning shears.

See related

Decorative Screening Fence Ideas

Developing a sense of privacy while adding a decorative landscape component can be achieved with a variety of materials to complement your home and garden. When planning a new landscape, or if you simply need to increase the amount of privacy through decorative screening, then think about applying vertical and horizontal components. An existing fence can be created more private by inserting woven forests, plants and lattice. Decorative screening can also be useful for surrounding spaces, serving as a support for plants and also as a focus in your overall landscape design.

Fence Fillers

Once you’ve installed a fundamental fence, while it’s a chain-link, picket or decorative iron, you may add a variety of screening fillers. For instance, you may thread plastic forks through chain-link fencing to make a decorative and vibrant display. It is possible to hang decorative planters and pots on white picket or steel fencing with trailing plants that may grow along the vertical stations of the fence, creating a rich texture and often a fragrant addition to your landscape.

Lattice

Often utilized to hide unsightly landscape components, wood, vinyl and composite lattice also provides a more affordable alternative to wood, metal and plastic fencing. Lattice can easily be employed to display one outside living area from the other, because it is flexible and sold in sections that you may either fit together or custom cut to fit a certain place. Vinyl lattice does not need to be painted or stained, is reduced to no maintenance and may be used for an assortment of landscape projects.

Espalier

Espaliers have been employed for centuries to grow flowers, vegetables and fruits. As the trees grow, the branches intertwine to make a decorative display. Planting trees in close proximity along a horizontal plane and using supports to train the branches to come together and grow horizontally, the effect creates a living display. Dwarf and ornamental trees are often employed for espaliers.

Woven Waddle Hurdle

Used for centuries as a traditional garden fence, a waddle hurdle creates a decorative display to prevent unattractive landscape components. A barrier may also be utilized to hold vines, adding colour, texture, fragrance and interest to any component of the landscape. A waddle hurdle may stand alone or be used in front of a chain-link, wire mesh or wood and wire fence to bring a degree of privacy. This lightweight fence is traditionally made from hazel and willow stems, is easy to install and requires very little maintenance.

See related

Oak Trees & Caterpillars

Caterpillars on oak trees are rarely a significant problem. Oaks are acorn-bearing trees that grow in most habitats. Occasionally they endure infestations of caterpillars during summer and spring, but usually they recover and develop new leaves with no help from gardeners. Caterpillars are the young types moths, butterflies and other insects.

California Oakworms

Despite their name, California oakworms (Phryganidia californica) are actually caterpillars. When recently hatched, they are yellowish-green with dark-brown stripes along their sides and dark-brown heads. They climb up to 1 inch long and mature to dark-colored caterpillars with olive or yellow lengthwise stripes. Coast live oak trees (Quercus agrifolia) are their principal source of food. Heavy infestations of these caterpillars on trees typically are followed by mild infestations, giving trees period to recover.

Fruittree Leafrollers

Fruittree leafroller caterpillars (Archips argyrospila) are green, about 3/4 to 1 inch long and have a dark or brown mind. They feed on oak buds and developing leaves, drawing them together with silken threads to form a protective casing. When disturbed, a fruittree leafroller frequently wriggles and falls, suspending itself by a thread. Mature fruittree leafroller caterpillars eat whole leaves, leaving just leaf skeletons. A heavy infestation of these caterpillars can eat the leaves of an whole tree.

Western Tussock Moths

The young of tussock moths are hairy caterpillars, and it is best never to touch them since their hair is quite irritating. The Western tussock moth (Orgyia vetusta) caterpillars have four white tufts that stick and red spots on their sides. They consume the young growth of oak trees for about six to eight weeks before spinning cocoons that also contain irritating hairs. All these caterpillars develop from 1/2 to 1 inch long.

Control

Oak caterpillars have a lot of predators, including parasitic wasps and flies, birds, spiders and yellow coats. Viruses and fungi also attack them. Healthy oaks typically survive caterpillar infestations readily, but trees afflicted by drought or overfertilizing are vulnerable. Broad-spectrum sprays aren’t acceptable to control the caterpillars since they frequently kill beneficial insects. A microbial insecticidal spray such as Bacillus thuringiensis (Bt) is used to control oakworms, according to the University of California Integrated Pest Management Program. Bt causes the caterpillars to stop feeding and die.

See related

Basic Country Landscaping Ideas

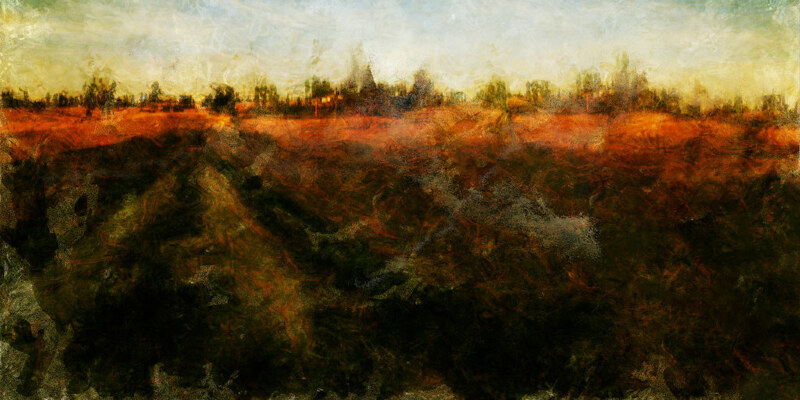
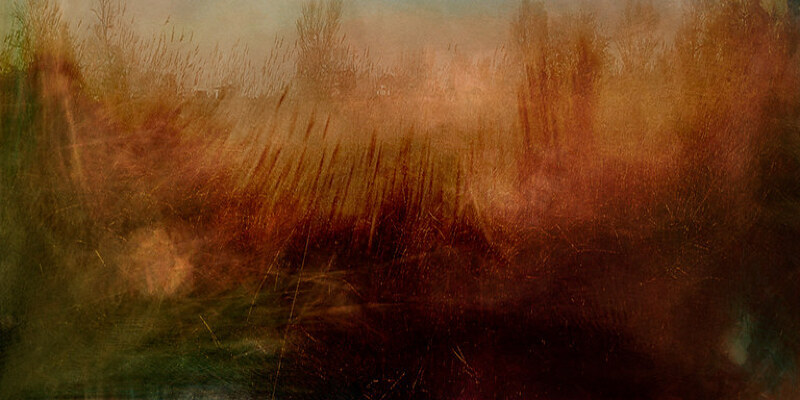
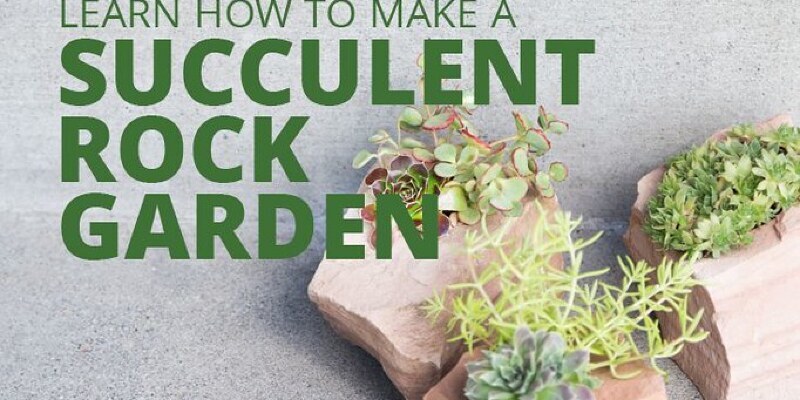
Country landscaping relies heavily on simplicity, stretching from the plants in the garden to the hardscape characteristics that define garden beds. While formal gardens include manufactured materials, such as bricks, lumber, metal and decorated furniture, country landscaping showcases much more natural materials, such as unprocessed timber, river stone and recycled found objects. The main objective of your landscaping must be to adopt materials that add a rustic charm that occasionally borders on quirky.

Fences

Fences commonly found in subdivisions, including dog-eared privacy fences, picket fences and chain link fences, do nothing to accentuate a nation landscaping aesthetic. Your fence must mimic the kinds of fences widely used on farms, such as split rail fences, which have rough-saw edges for a more simplistic look. It is possible to use a split rail fence instead of a picket fence or even install one post with fence rails stretching diagonally to the ground for a frame for a flower bed at a drive entrance. Fresh-cut logs and tree branches also function nicely for rustic fences. Another option is to stack fieldstone to construct a fence or retaining wall which is less than 3 feet high.

Borders and Walkways

When you walk through a country garden, you should never get the impression that the garden features aren’t natural capabilities. Instead, choose natural stone, such as flagstones and river rocks, to make easy stepping-stone trails to direct traffic through your garden. Fieldstones, river stones and even smaller cobblestones work well as edging material to define flowerbed borders while offering moderate protection against weeds spreading into flowerbeds. The cost of stones quickly adds up, so you might instead line a straight flowerbed with natural logs.

Focal Points

The focal points you choose for your garden would be maybe the easiest means to imply a nation gardening style. Arbors and trellises made of tree branches embody the nation landscaping aesthetic better than structures built from pressure-treated lumber. Instead of purchasing glass and metal patio furniture sets, splurge on bits made of bent willow branches to add a rustic feel. You can also use found items, such as antique farm implements and even housewares, to decorate your gardens. Old farm plows add a country touch to a small flowerbed and provide some support to train climbing vines. You can prop old wagon wheels against an outside wall or utilize the spokes to plan a wheel herb garden. With a simple water heater, an old washtub or bathtub may become a garden fountain or pond.

Plants

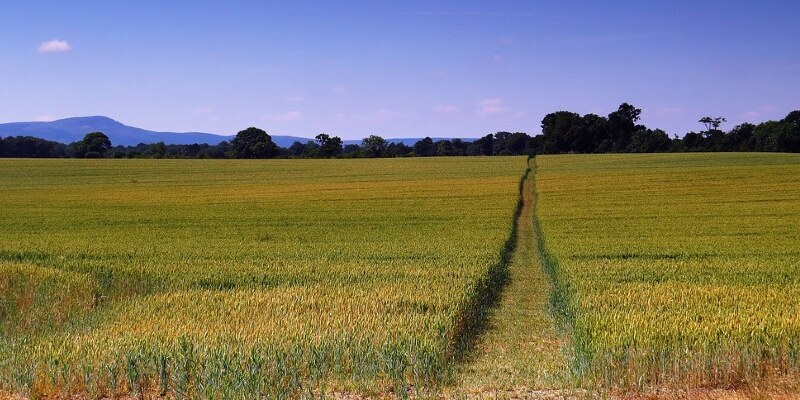
A country garden must include carefully selected plants, while giving the appearance of natural plantings. Perhaps the easiest way to achieve this is to select native plants which need little upkeep, but might fill in a garden space. With the accession of fruit trees, berry brambles along with a working vegetable garden, you may add color to your landscape design whilst enjoying fresh fruits and vegetables. An assortment of evergreen and deciduous shrubs and trees fills in large, empty spaces and guarantees an array of colors throughout the year. Phlox (Phlox spp.) , hollyhocks (Alcea spp.) , daylilies (Hemerocallis spp.) , nasturtiums (Nasturtium spp.) , roses (Rosa spp.) , sweet peas (Lathyrus odoratus) along with sunflowers (Helianthus annuus), combined with aromatic herb crops, such as lavender (Lavandula spp.) , rosemary (Rosmarinus spp.) and thyme (Thymus spp.) Are among the many plants prevalent in country gardens.

See related

Flexible Garden Edging

Gardening edging delineates and separates lawn from flower beds, paths or driveways. Use flexible gardening edging to summarize sweeping curves and to create clean lines in your yard. Flexible edging is made out of plastic, steel, aluminum or fiberglass and usually comes in 4- into 6-inch-wide strips. Opt for the edging that best matches your architecture, landscape design and pocketbook. The various kinds of edgings fluctuate in price, looks, durability and setup method.

Plastic Edging

Flexible plastic edging is readily available and relatively inexpensive. The kinds of plastic ranging variety from pound-in black and types rolled edging to professional landscape level. Since plastic edging is lightweight and easy to work with, you can easily install it on your own. Warm rolled-up edging in the hot sun to make it more pliable and easier to straighten out before installing. While plastic edging is long-lasting, it may break with time due to ultraviolet light exposure and bumps caused by lawnmowers or trimmers. Aircraft plastic edging makes for a environmentally-friendly choice.

Steel Edging

Steel competition is a flexible, heavy edging edging. If correctly installed, then steel edging will last nearly forever. Over time, steel edging will corrode, which gives it a rustic or traditional look. Steel edging presents security concerns because of sharp edges on a few of the more inexpensive versions and since the steel stakes that hold the edging in place stick out over the edging strip. Since steel edging is so heavy, it’s difficult to set up, particularly to form curves, so it’s best left to professional landscapers.

Aluminum Edging

Aluminum edging, like steel edging, is more expensive than plastic. It may not be as readily available in shops for a do-it-yourself endeavor, but you can order it. Aluminum edging is lightweight, extremely flexible and will never corrode. Due to its flexibility and light weight, it is not difficult to install and can be used with all sorts of curvy layouts. Aluminum edging comes in several colours and is environmentally-friendly, because aluminum is an extremely recycled metal.

Fiberglass Edging

Fiberglass competition is a newer type of edging that is powerful, flexible, non-corrosive and is expected to last over 25 years. It comes in rolls and, unlike plastic and metal competition, it uncoils straight. Fiberglass strips are 4 to 5 inches broad. The edging is a composite material that comes in black or green. The color, with UV protectors, are embedded in the fiberglass material and won’t fade or be discarded if edging is chipped. A metallic edging with built-in LED lighting is also available.

See related

Repelling Moles from the Yard With Vibrations

Together with their furry faces, nearsighted eyes and oversized front nails, moles appear anything but threatening, and they eat grubs and worms, not just the vegetables you cultivated all night. Nevertheless, their tunnels do as much damage to a lawn or garden that most men and women believe them little more than cute pests. If you don’t have the belly for skewering or crushing scars with traps, then you may regard repelling them with devices that are vibrating as a humane alternative. You aren’t likely to have much success, however, unless you’ve got several such devices and supplement them with other mole control tactics.

Walk across the yard or lawn and find as many active tunnel gaps as possible. You can tell if an opening is active by stepping on it and closing it away. The mole will return and dig it out — generally from the next day — when it’s an active opening.

Place a vibrating or ultrasonic unit from the bottom near every opening except one and turn them on. If the vibrations scare the moles, they’ll make their way to the tunnel opening that isn’t protected by means of a device to escape.

Increase your probability of success by baiting the unguarded opening using poison grubs, available at many garden centres. As the moles make their escape, they may be tempted to eat.

Close off the devices after 24 hours, then leave them away for several days and turn them on again for 24 hours. Continue turning them off and on at irregular intervals to prevent the moles from growing accustomed to the vibrations and ignoring them.

See related

How to Hang a Bead Doorway Curtain

Beaded curtains can provide a playful or sophisticated look in your home, depending on the design. The curtains come in a variety of styles such as the conventional colorful plastic beads, glitzy metallic beads, faux crystal chandelier-style beading or natural timber and bamboo beads. The simple rods typically feature two little mounts that slip over the hanging hardware, although longer or thicker drapes may have three mounts. Beaded curtains only take a couple of minutes to install with basic tools and hardware.

Hold the beaded curtain rod above the doorway in the place you would like to mount it. Mount the rod directly on a wooden door frame or approximately 1 inch above the door frame. Most door frames have been surrounded by steel flashing underneath the paint so that you may just put mounting hardware over the flashing, or even 1 inch over the frame.

Put a small piece of masking tape on the frame or wall at the place of the hanging hooks on the rod. Mark the screw holes for the rod on the tape, using a pencil. Set the curtain rod aside.

Drill a starter hole during the marking on the tape, using a drill bit one size smaller than the cup hook. The tape prevents the plaster and paint from cracking.

Remove the tape. Expand a cup hook to every single starter hole, using your hand. Twist the hook until it’s securely in the wall and the opening of this hook is facing upward.

Slide the hanging hooks on the curtain rod above the cup hooks.

See related

A Tutorial on How to Miter Your Own Drapes in the Bottom Hem

The mitered corner is the hallmark of high-end draperies, considered a finishing touch which identifies your drapes as custom-made. In addition, it reduces the bulk from the drape corner and on the side hems and creates a wide edge facing — desirable components in drapes. A savvy homeowner can produce mitered corners with confidence that the result will be equivalent to custom-made drapery corners.

Assemble the drapery panel with a single-layer bottom hem and a single-layer side hem of equivalent widths.

Turn the hem up throughout the base of the drape and press on the bend, creating a sharp bottom hemline.

Turn the side hem in, from the top to the base of the drape and press the bend, creating an extremely sharp pressed edge. Open the hems.

Lay the panel on the table with the bottom edge toward you and the right side of the cloth observable.

Mark the ideal side edge 18 inches up from the bottom right-hand corner of the drape on the ideal side of the cloth. Mark the bottom hem 18 inches to the left of the identical corner, on the ideal side of the cloth.

Place a pin through the drape, from the wrong side to the ideal side, in the point at which the outside edge and underside creased hem lines intersect.

Align the bottom hem edge with the hands outside border by aligning the two marks. Make certain that the drape is laying flat along the diagonal fold created via this aligning.

Place the outside edge of the long arm of a carpenters square along the diagonal bend of the drape, the corner of the square on the pin. Draw a line from the pin into the outside edge of the drape, along the base of the brief arm of the square, creating a line onto a 90-degree angle in the folded edge.

Sew on this line and trim the cloth back to a 1/2-inch seam allowance. Press the seam open.

Turn the hem into the incorrect side of the cloth. The sewn seam creates a miter in the bottom corner edge.

See related