Month: March 2019

5 Ways to Insulate Windows Yourself

One of the most common ways in which heat and cold can enter or escape from your house is through window cleaning. That’s why it’s so important that you insulate your window frames in order to keep your energy costs down.

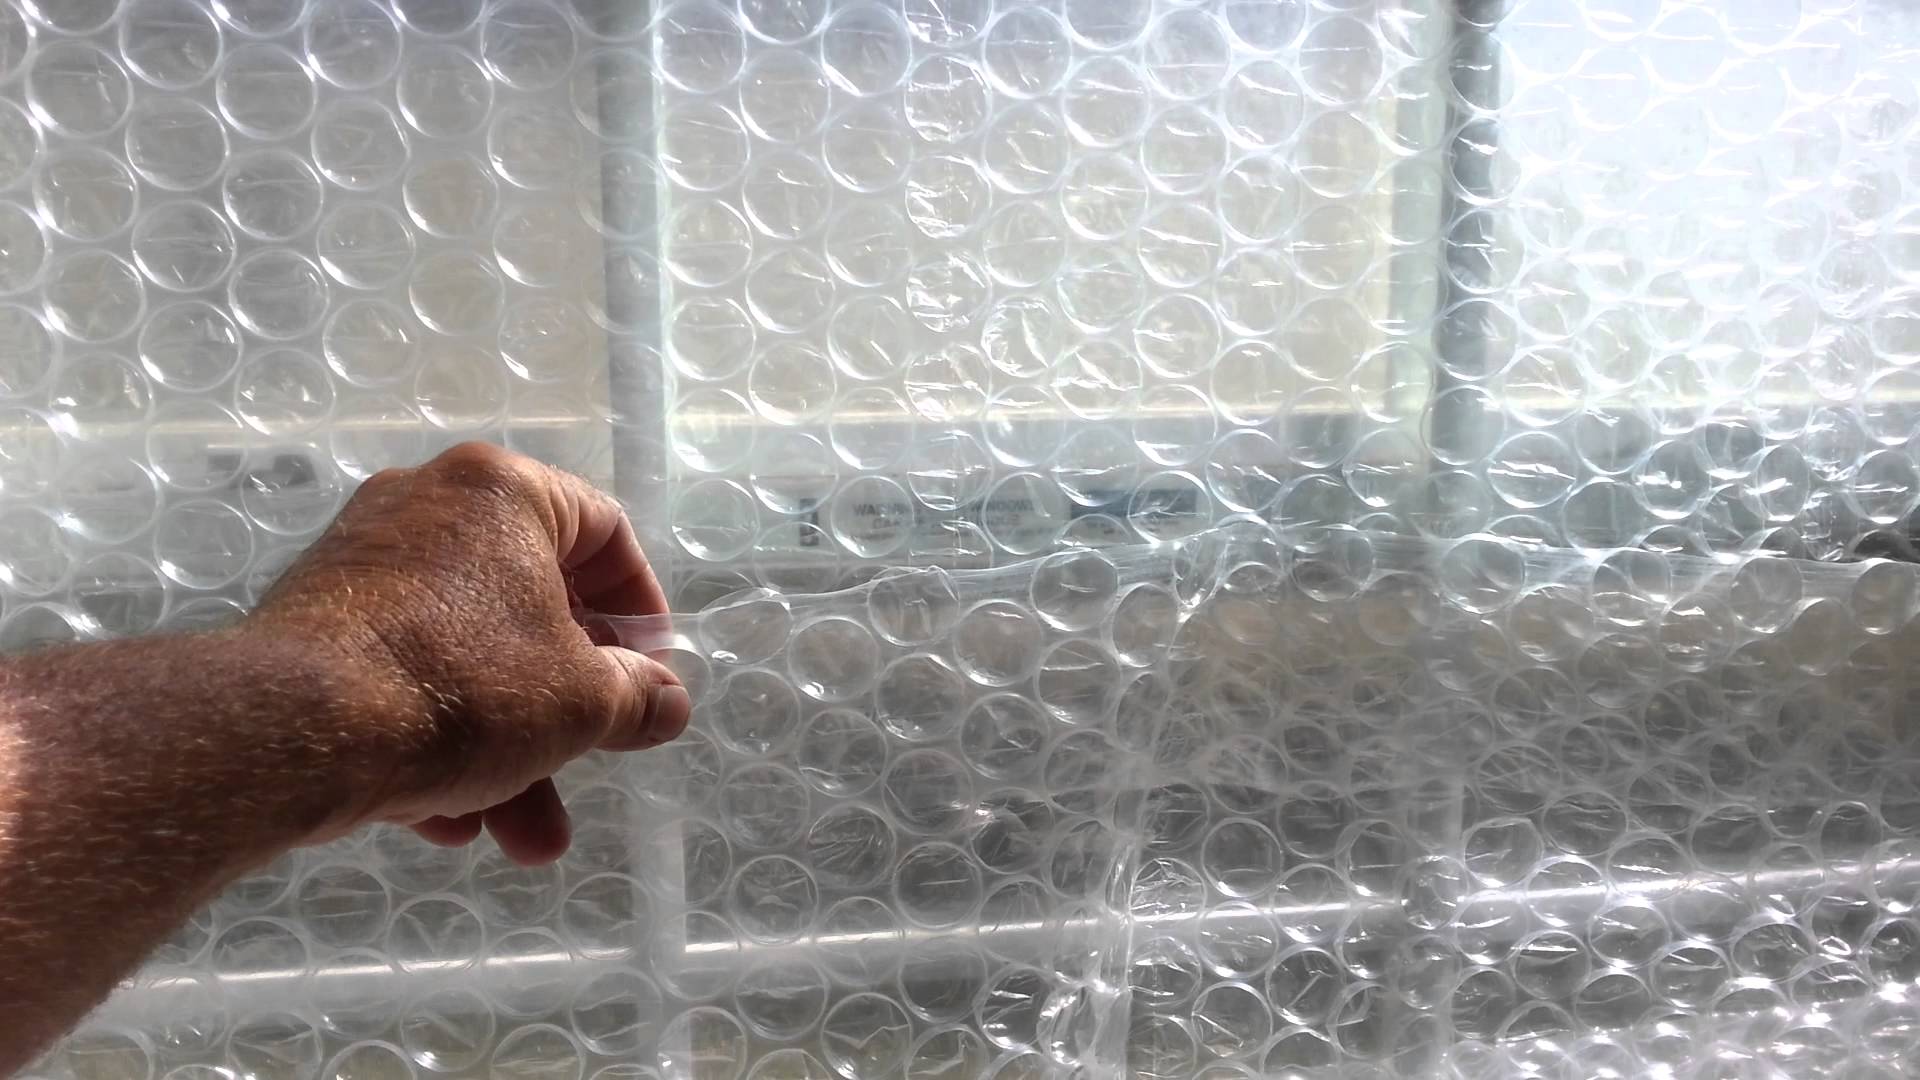
1 – Window Film Insulation

This is not the same as reflective window film.  The window film has a double-sided tape. Use a blow dryer to blow over the film after you have attached it to the window. This ensures that it sticks on tightly.

Pros

It lowers the u-value of the window, meaning greater energy efficiency.

Cons

The film might strip the paint off your window frame when you remove it.

2 – Caulking

Use caulk to fill in window spaces that are smaller than ¼ inch. Use paintable water-based latex caulk in such a case. Otherwise, use silicone-based caulk on glass and metal-based surfaces.

Pros

It’s cheap

Cons

Doesn’t look good if you don’t pain it and you cannot paint silicone caulk. You will need to keep reapplying the caulk from time to time, especially if the window expands and contracts a lot.

3 – Weatherstripping

The fixed parts of the window can be filled with EPDM, foam or felt weatherstripping while the movable parts can be filled in with weatherstripping from time to time.

Pros

Easy to use and doesn’t leave any marks or residue when it’s finally taken off.

Cons

In case you apply it on window parts that are movable, you will not be able to open or close the window installation.  To open or close the window, remove the weatherstripping, close or open the window and then apply the weatherstripping again.

4 – Spray Foam

Spray foam is best used if you have large gaps or cracks on the window. This is because it might be more disastrous to get rid of the plaster and drywall to try and fix the problem. Polyurethane is spray foam that expands.

Pros

It makes it easy for you to access areas that you would otherwise not have been able to access by hand. This is because you will use a long nozzle to spray.

Cons

It can be hard to just let it stay in the area that you have sprayed alone. This is because the foam expands and it might overflow to other areas, such as the wall and floor.

5 – Thermal Curtains

These window treatments provide extra insulation. They are available in two forms: side drawn curtains that are thick and vertically drawn pleated drapes. These curtains are much thicker than what’s normally used on regular window repair. They have tie backs that hold them against the wall to prevent air from getting into the house.

Pros

The US Department of Energy has certified such window treatments as being quite effective at providing insulation. To keep the house cool during hot months, use curtains which have white plastic backings.

Cons

The curtains only work when they are drawn. The heavier the drapery, the better. Vertical blinds might not be so effective.

When Do You Get Escrow Refund Checks?

Many homeowners with active mortgage accounts have an escrow account with their lender. Your lender quotes how much you have to pay into escrow monthly at the beginning of each year. Sometimes the lender can overestimate your entire costs for property taxes and homeowner’s insurance. If this occurs, the lender owes you a refund at the end of the year or beginning of the following.

Works

As a homeowner, you have the responsibility to pay real estate taxes and homeowner’s insurance as well as your monthly mortgage payments. If you do not pay these punctually, the tax collector can record a lien against your property or even the insurance company could drop coverage. Your mortgage lender doesn’t want either of those situations to occur, because it has an interest in your house before the loan is paid in full. Many lenders require their borrowers to utilize an escrow account. Every month you pay into the account. The money is saved before a tax or insurance payment is due. At this time, the lender pays the invoice directly on your own behalf with the money from the bank account.

Calculations

Your mortgage lender calculates how much you must pay into your bank account each month. It takes the total annual amount owed for taxes and insurance and divide by 12, to reach the monthly payment. It can get the billing information in the tax collectors and insurance companies to produce a good estimate of the grand total. Most lenders will collect additional to save in case the invoices tend to be more than anticipated. However, by law it’s only allowed to accumulate to two month’s worth of additional payments.

Escrow Adjustments

Your escrow account is reviewed to year to find out whether any adjustments are necessary. At this time, the lender also complies a report on the entire activity for the past year. This will include payments into and out of the accounts. The lender sends you a copy of the statement each year.

Refunds

If the lender overestimated your annual bills, an overage will occur in the accounts at the time of the annual adjustment review. Your lender is required by law to refund the amount. If the overage is less than $50, it can be used as a credit on the following year’s escrow payments. If the overage amount is over $50, the lender should issue you a check for the entire amount. You should also keep track of your escrow account. If your records do not match the annual statement, contact your lender to discuss the discrepancy.

See related

How to Turn Stain Veneer Into a White Distressed Finish

It is all too simple to damage an older piece of veneered furniture if you try to refinish it; veneers are thin and easy to sand through, and that can be a problem when the piece has dulled with age. An alternative that can turn a throwaway to a conversation piece without the risk of damaging the hairline would be to paint the surface white and distress the end. There is more than one means to try it, but a simple method uses flat white latex paint or wood primer. Other colours used as highlights add to the distressing outcomes.

Start the restoration by eliminating all of the hardware in the veneered piece, having a screwdriver to remove drawer pulls and door hinges. Cover the floor with plastic sheeting and provide ventilation by opening a window, using a fan or both.

Wash the veneer with a solution of 1/2-cup trisodium phosphate per gallon or warm water. This eliminates greasy deposits and also dulls the aged end, which both enhance paint adhesion. Wipe the piece dry using a clean rag.

Prepare a painting solution. If you want to create an opaque white end, the best plan is to apply a coat of wood primer followed by a couple of coats of white paint. If you prefer a pickled appearance, mix flat latex paint or primer having an equal quantity of water.

Apply primer and paint — if that’s the option you choose — using a paintbrush. Permit each undercoat dry; then sand it using 220-grit sandpaper before applying another coat. If you opt for a pickled finish, brush on the paint mixture having a paintbrush and wipe immediately using a rag. This technique allows paint to gather in pores, cracks and crevices and leaves a milky finish on the rest of the surface.

Distress the end after it dries. Among the many approaches you can do this is to hit the surface using a chain, pound it with a hammer or make tiny holes with a hammer and nail. You can also use sandpaper to remove paint in specific areas to make the end look worn.

Highlight the distressing effect by mixing a glaze, using water-soluble glazing compound and universal pigment. Using a glaze that is the identical shade as the exposed wood inside a closet or on the bottom of a table helps make the piece appear worn.

Apply the glaze using a rag, then rubbing it to areas where you desire the most shade highlighting. Allow it to dry; subsequently shield the finish by brushing on a single coat of satin polyurethane.

See related